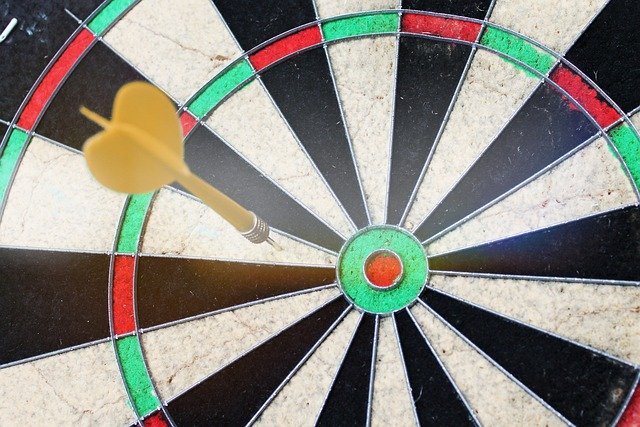
Setting up a dartboard at home can provide hours of entertainment and enjoyment for family and friends. Whether you’re a beginner or an experienced player in Australia, properly installing your dartboard ensures accurate gameplay and safety. Follow this step-by-step guide to set up your dartboard correctly.
1. Choose the Right Location
Selecting the right location for your dartboard is crucial for safety and optimal gameplay. Ideally, choose a space where there is ample room to throw darts without obstruction. Ensure there is enough clearance around the dartboard to prevent accidents and allow for easy retrieval of darts.
2. Measure the Height
The standard height for a dartboard is 5 feet 8 inches (173 cm) from the floor to the centre of the bullseye. Use a measuring tape to mark this height on the wall where you intend to mount the dartboard. This ensures consistency in dartboard placement and facilitates fair gameplay.
3. Mounting the Dartboard
Once you’ve marked the correct height on the wall, it’s time to mount the dartboard. Most dartboards come with a mounting bracket or fixing kit for easy installation. Follow these steps:
- Place the dartboard against the wall at the marked height.
- Align the bullseye (centre of the dartboard) with the height mark on the wall.
- Use a pencil to mark the positions of the mounting screw holes on the wall.
- Drill pilot holes at the marked positions, ensuring they are slightly smaller than the screws provided.
- Attach the dartboard securely to the wall using the screws and mounting bracket. Ensure the dartboard is level and stable.
4. Dartboard Surround
Consider installing a dartboard surround to protect the wall around the dartboard from stray darts. Dartboard surrounds are typically made of foam or other durable materials and can help extend the life of your walls while adding a professional look to your setup.
5. Marking the Throw Line
The throw line, also known as the oche, is the line behind which players must stand to throw their darts. The standard distance from the front of the dartboard to the throw line is 7 feet 9.25 inches (237 cm) for steel-tip darts and 8 feet (244 cm) for soft-tip darts. Use a tape measure to mark the throw line on the floor or use a throw line sticker for easy visibility.
6. Lighting
Good lighting is essential for clear visibility of the dartboard and darts during gameplay. Position overhead lighting or install a dartboard lighting system to illuminate the dartboard evenly without casting shadows or glare. Adequate lighting enhances accuracy and prevents eye strain while playing.
7. Test and Adjust
Once the dartboard is mounted, the throw line is marked, and lighting is set up, take some test throws to ensure everything is in order. Check for proper dartboard height, stability, and lighting quality. Make any necessary adjustments to the dartboard position or lighting to improve gameplay conditions.
8. Maintenance
Regularly inspect the dartboard and surrounding area for wear and tear. Rotate the dartboard periodically to even out dart impact and extend its lifespan. Clean the dartboard surface and remove any debris or accumulated dirt to maintain optimal performance.
Conclusion
Setting up a dartboard at home is a straightforward process that enhances your living space with a fun and competitive activity. By following this step-by-step guide to choose the right location, measure height, mount the dartboard securely, mark the throw line, install lighting, and perform maintenance, you can create a safe and enjoyable environment for dart playing in your Australian home.
For enthusiasts in Australia looking to set up a dartboard, investing in quality equipment and following proper installation procedures ensures years of entertainment and skill improvement. Enjoy the game and improve your dart-throwing skills with a well-set-up dartboard at home.

